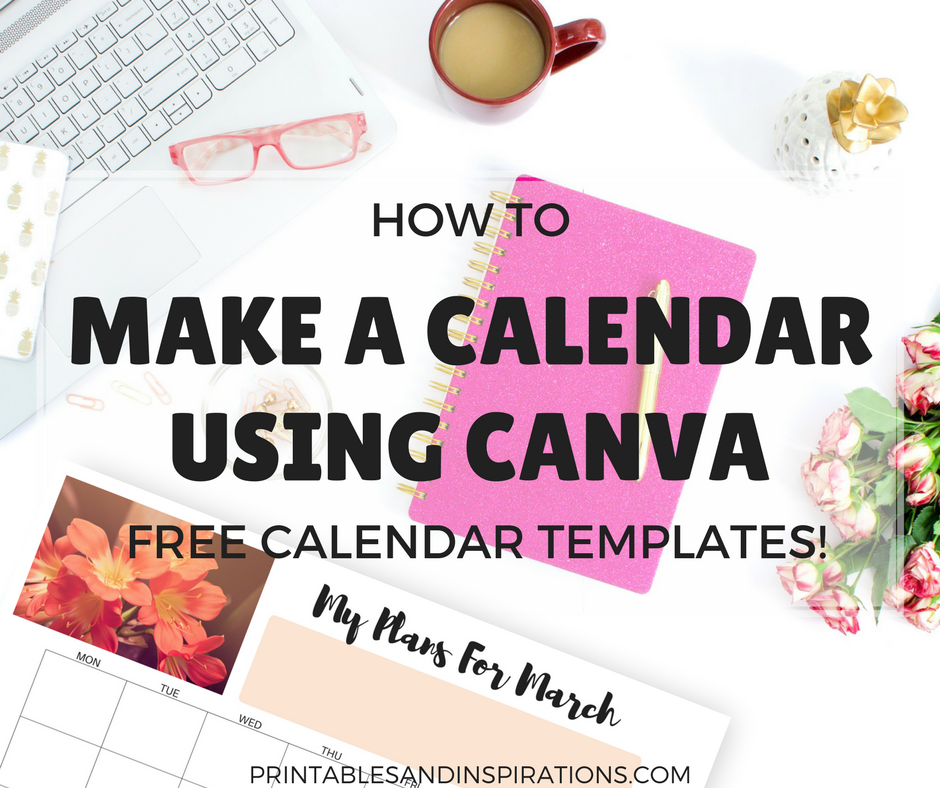
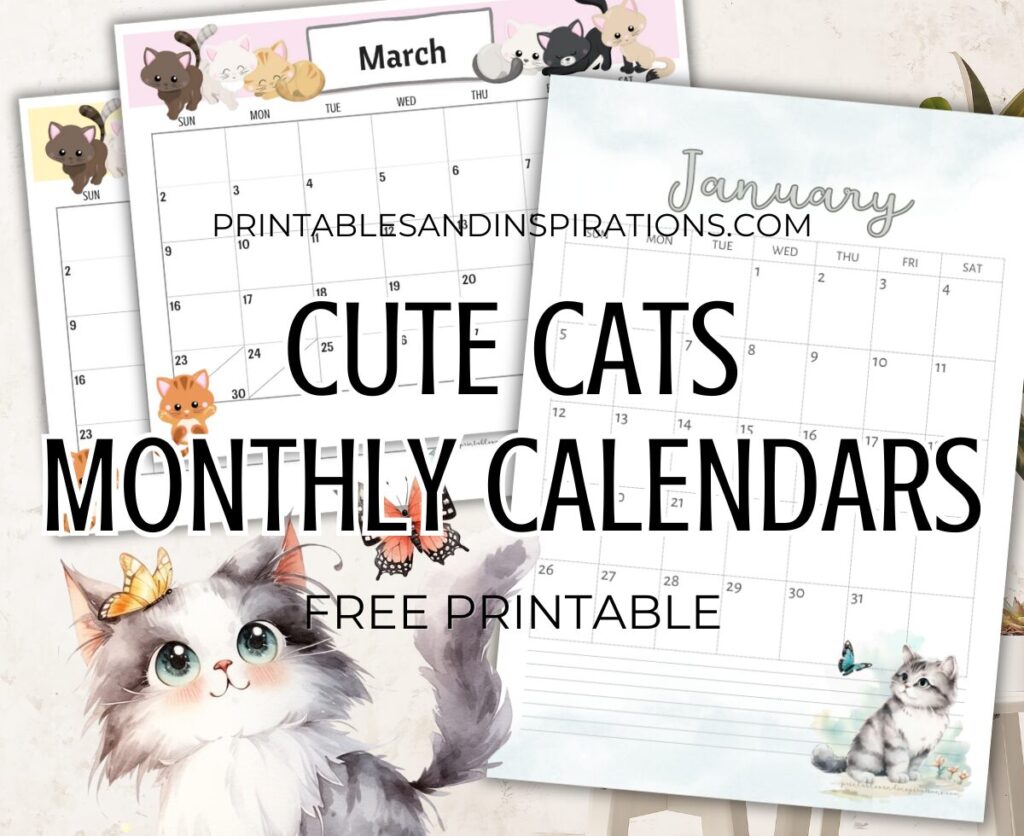
Hello loves! Would you like to design your own planner pages? Here are my steps on how to make a calendar or how to design a planner using Canva. I’ve been using Canva to make my planner pages and it’s been a lot of fun! I hope that this Canva tutorial will help you design a planner that will inspire you every day. I even added some free calendar templates to make it easier!

By the way, Canva is an online graphic design tool website. It has templates, fonts and images that you can use for free! Also, Canva has a library of free images that you can use to design your calendar. I can honestly say that I used only Canva on 90% of our printables!
(This post contains Canva affiliate links which will help support our website at no extra cost to you.)
I love Canva so much because it makes designing easier for a busy person like me. So I decided to upgrade to Canva Pro to enjoy all the wonderful features like magic resize, transparent background, and brand kits.
CLICK THIS IMAGE TO TRY CANVA PRO FOR FREE!
How to make a calendar using Canva
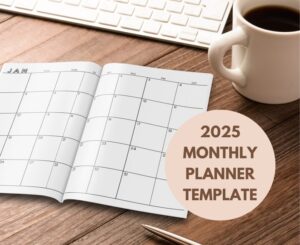
These are the basic steps that I use to make my calendar or monthly planner. Since the most difficult step is making a calendar grid, I have made some templates that you can use! You may download my calendar templates later at the end of this Canva tutorial.
1. Choose the document size.
Once you’ve signed in to your Canva account, click the +More button at the top right. Look for US Letter or A4. If you want to design an A5 planner, use the A4 document size since an A5 is half of an A4 but with the same proportion.
Another option is to create a Custom size. Click Use Custom Dimensions and write in the width x height in pixels, inches or centimeters.
2. Make a calendar grid / upload the calendar template!
From the left panel, click Elements then click Shapes and choose the rectangle tool. Use this to create squares for your calendar or make a grid.
From the left panel, choose Uploads and click the Uploads folder. Then hit the Upload your own images button and choose the photo you want to upload.
3. Adjust the grid size and position.
Click on the photo of the calendar grid and pull at the corners to adjust the size. You can also drag the calendar to one side to create space for your notes. Canva also shows dotted lines to let you know that the image is at the center of the document.
If you are using a ring binder for your planner pages, make sure to leave at least 2 cm on one side. That will be the area where you punch the holes.
4. Add images to make your calendar prettier!
Upload another photo or choose from Canva’s image library! You can also use your own selfie if you like.
From the left panel, click Search and type the image you like. I usually type in flowers and choose any of their free images.
You can even change the colors on some images. Click the image and then check the toolbar at the top left. Choose a color and change it according to your favorite color theme.
At the top right toolbar, you will also find options to make the image more transparent or put one image below another.
5. Add text to your calendar design.
To make a calendar, you must add the days and the dates, and the month of the year. From the left panel, click Text and choose and basic add text option.
Click on the text box twice to see the edit text panel. From there, you can write the text, change the alignment, font and size of your text, and change the text color!
Exit and click the text box again. Adjust the size and position of your text box.
You can also use this tool to add the events on your planner, and even you goals and some notes for the month.
6. Save the file as PDF and print.
Click the Download button on top and save as PDF. Then, you can open this file from your documents folder and print as usual.
You can also save your file as an image and use it later for other calendars and planners.
That’s all my steps on how to create a calendar. And remember to have fun, take your time to play around and be creative! Canva has other features that I haven’t mentioned and they give a quick tour when you sign up for a free trial.
Thank you for sharing! I really enjoy using Canva and I’m so excited for you.
Let’s make more beautiful things.
Love,
Mae

